In this concise, illustrated, how-to guide, Oracle ACE Director Celvin Kataookaran walks you step-by-step through the process of setting up Single Sign-On between Oracle Planning and Budgeting Cloud and Azure Active Directory Base version.
By Celvin Kattookaran 
Introduction
Starting with the November 2015 Oracle Planning and Budgeting Cloud Service (PBCS) release, you can configure Single Sign-On (SSO) to authenticate service users using:
- Microsoft Active Directory Federation Server (ADFS) 2.0,ADFS 2.1, ADFS 3.0
- Shibboleth Identity Provider 2.4.0
- Oracle Identity Federation Server 11g.
In this article we will review the process of setting up Single Sign-On between Oracle Planning and Budgeting Cloud and Azure Active Directory Base version.
SAML 2.0 and how it works
Security Assertion Markup Language 2.0 (SAML) is an XML-based data format for exchanging authentication and authorization data between security domains, enabling cross-domain web-based authentication and authorization.
In a Single Sign-On configured setup one Security Domain acts as a Service Provider, consumer (SP) and one acts as an Identity Provider (IdP), authority, as illustrated in the image below.

- User tries to login to PBCS
- OPC (Oracle Public Cloud) generates a SAML request
- OPC redirects the browser to the SSO URL page, Browser now opens the SSO page, User logs in using his AD username and password
- Azure now authenticates the user using the SAML request
- Azure generates a SAML response
- Azure returns the SAML response to browser, Browser now sends the SAML response to OPC
- OPC verifies the SAML response
- User is now logged into PBCS
Configuring Azure AD Base Version with Oracle Public Cloud involves a 5-step process:
- Configure Azure AD as IdP for Federation
- Configure Oracle Public Cloud as SP for Federation
- Updating Azure after OPC Configuration
- Testing SSO
- Enable SSO
Configure Azure AD as IdP for Federation
-
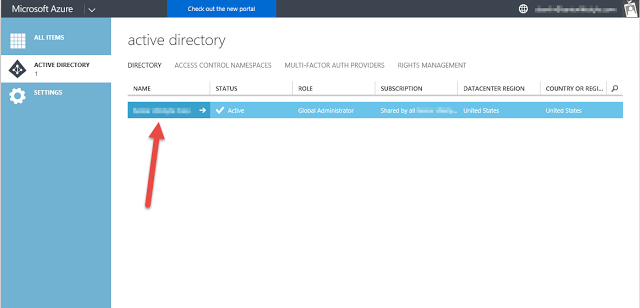
Login to Azure portal. Navigate to Browse to Active Directory, then to Applications.
-
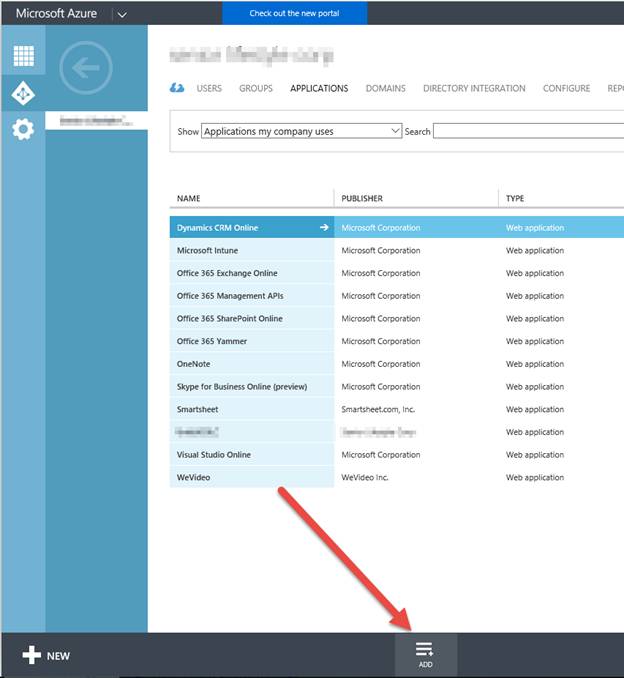
Click the Addbutton to add a new application.
-
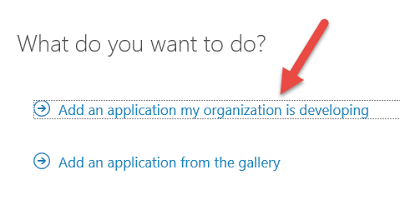
Choose Add an application my organization is developing. (Oh, I get it, It's Oracle's application. )
-
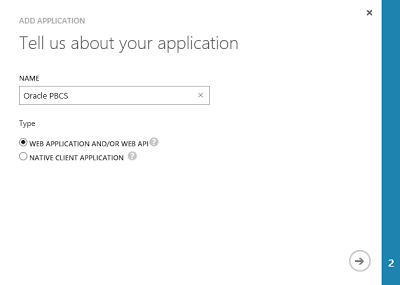
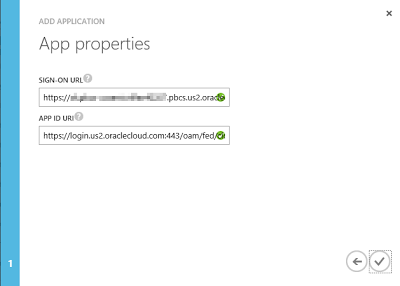
Provide a name and choose Web Application AND/OR Web API.
-
The Sign-on URL will be your PBCS URL (excluding the Workspace/HyperionPlanning part).
https://pbcs-domain.pbcs.us2.oraclecloud.com
-
Add a URL for APP ID URI (we'll revisit this in a moment). I just copied the same Sign-On URL:
-
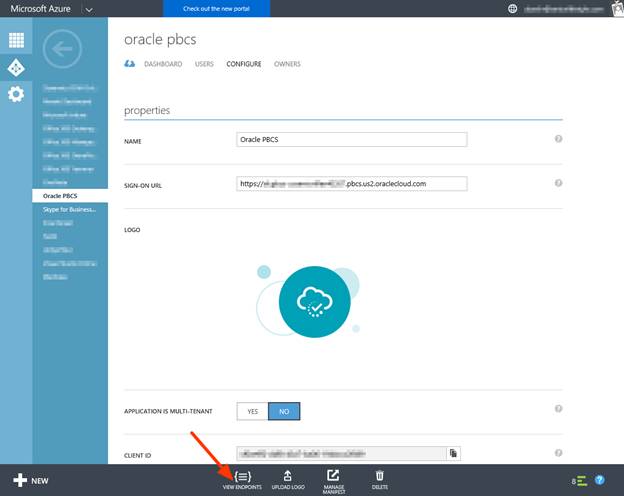
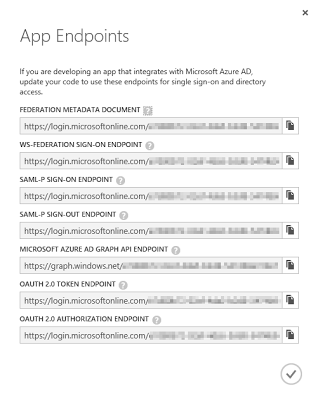
Once the application is created, you can get the Provider Metadata by opening View EndPoints. You can also change the logo of the Azure Application by uploading a 215px x 215px image.
-
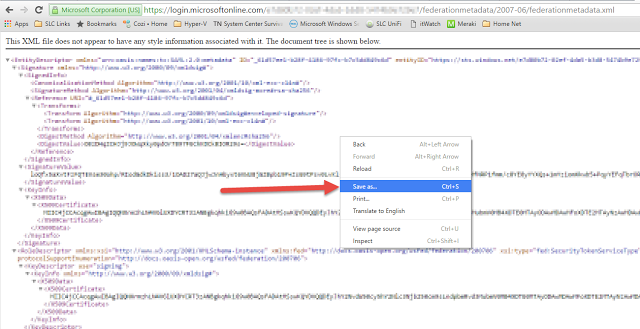
Copy the link from "FEDERATION METADATA DOCUMENT" (it's a link to Federation metadata xml file). Paste that into a web browser.
-
Save the file as an XML file.
It's now time to configure Oracle Public Cloud to act as Service Provider
Configure Oracle Public Cloud as Service Provider for SAML Federation
-
Login to Oracle Public Cloud (https://myservices.us2.oraclecloud.com)--/)>"Users"->"SSO Configuration"
-
Click on Configure SSO
-
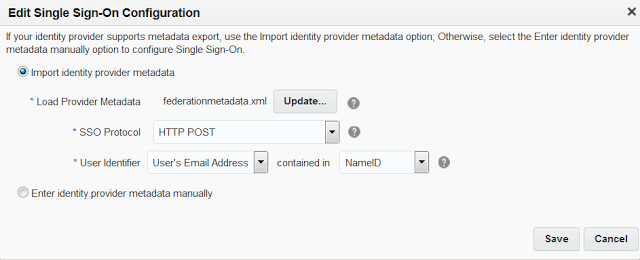
Upload the Federation Metadata XML
-
Choose HTTP POSTfor SSO Protocol
-
Choose User's Email Address for "User Identifier"
-
Choose NameID for "contained in"
-
Click Save. You'll get four links after you Save the IdP information.
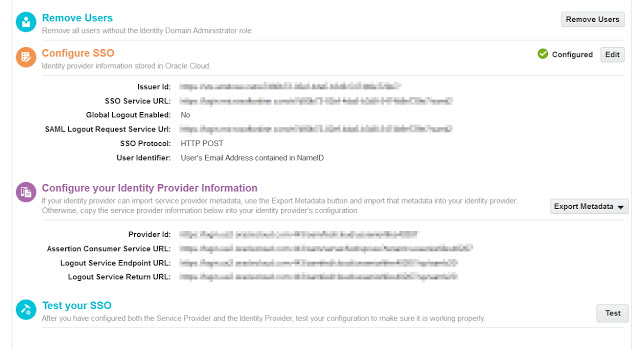
You will need the Provider Id and Assertion Consumer Service URL values for the next step.
Updating Azure after OPC Configuration
-
Login to the Azure portal.
-
Navigate to Active Directory-> Applications -> Your Application -> Configuration
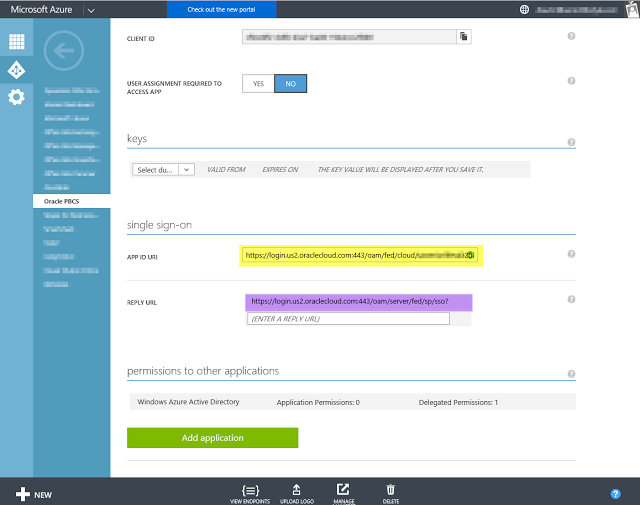
APP ID URL = Provider ID
Reply URL = Assertion Consumer Service URL
Testing SSO
-
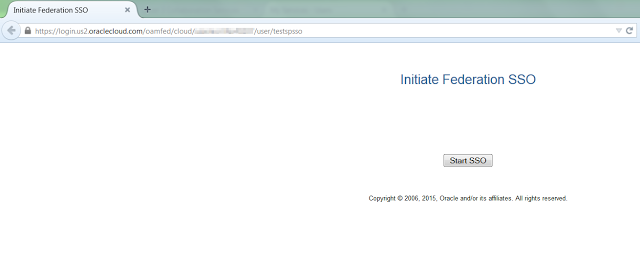
Login to OPC->Users->SSO Configuration->Test SSO
-
Click on Start SSO. You'll be redirected to Microsoft site.
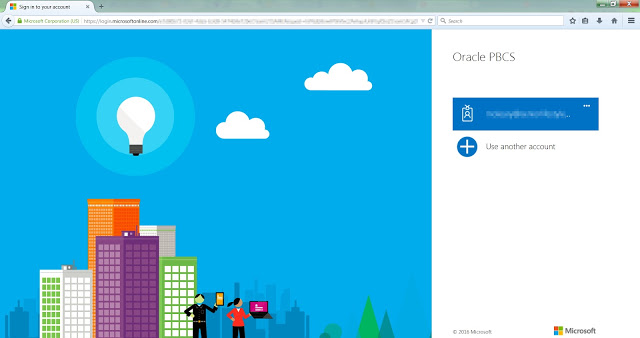
-
Provide your password to see the results.
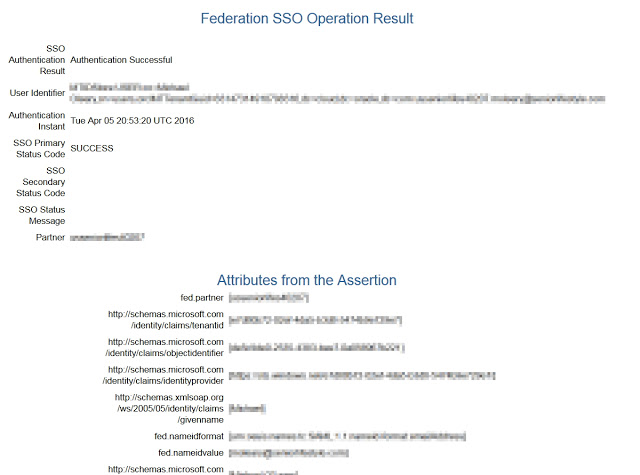
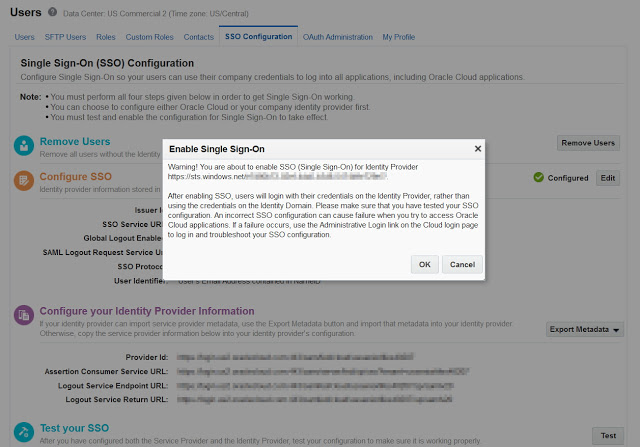
If the test is successful you can now Enable SSO in OPC.
Enabling SSO
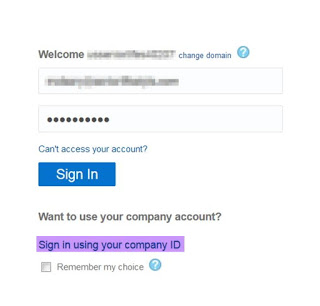
Once enabled you'll see a new link in the PBCS Login url.
Loading Azure AD users in OPC
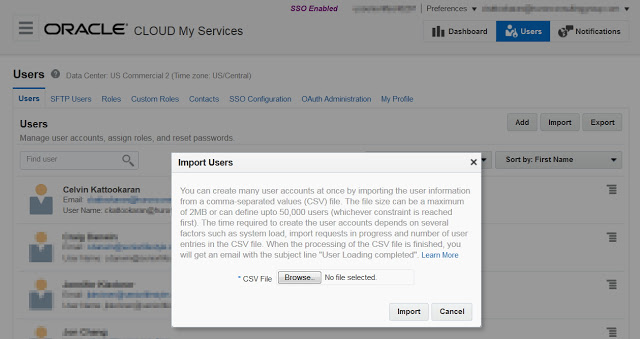
Azure AD users must be added in OPC before they can login into PBCS. This is can be done in a bulk mode by uploading a CSV file in the following format:
First Name, Last Name, Email, User Login
To upload users, Login to OPC->Users->Import->Browse the CSV file->Import
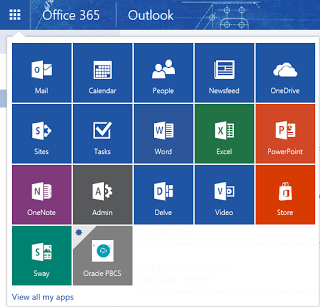
Office 365 App Launcher
Using the Office 365 App Launcher you can pin your apps to EXCEL, Outlook and other Office apps, which allows you to launch the PBCS URL directly from within those Office applications.
Conclusion
Using Single Sign-On significantly eases user maintenance by eliminating the need to update an account on external systems.
Customers can revoke access by removing users from their IdPs. Office 365 and the Basic Azure AD version allow to you access external applications directly from within Microsoft products.
About the Author
@"Celvin Kattookaran" is an Oracle ACE Director and Principal Architect with Huron Consulting Group. He is known for developing creative and effective business solutions to address his clients’ challenges. He is a frequent contributor to Oracle Community discussion forums and to the Network 54 Essbase forum. During his leisure time he develops utilities for EPM products which make a consultant’s life easier.