
This guide outlines how to apply a discount to one or more invoices within a Customer Invoice Group. This process can be completed either during payment processing or by using a discount item within the invoice record.
Applying Discounts to Customer Invoice Groups
Important Note: Applying discounts via payment processing and via a discount item are separate processes. Select the method based on the desired outcome.
Apply Discount During Payment
- Navigate to Transactions > Sales > Group Invoices > List.

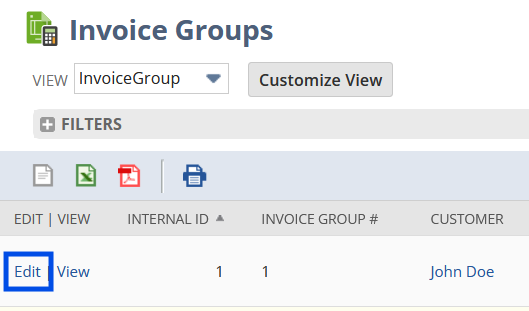
2. Locate the Invoice Group and click View.
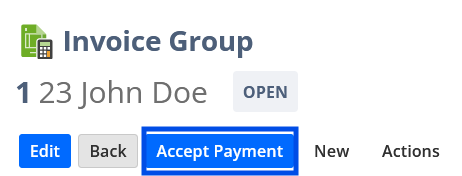
3. Click Accept Payment.
4. On the Apply subtab, locate the invoices in the Apply sublist.
5. In the Discount column, enter the discount amount to apply to each invoice.

6. Click Save.
Apply Discount via Discount Item
I. Create a Discount Item
- Navigate to Lists > Accounting > Items > New.

2. Select Discount as the item type.

3. Enter the necessary details (e.g., name, rate, GL account).
4. Click Save.
II. Apply Discount to Invoice Group
- Navigate to Transactions > Sales > Group Invoices > List.
- Select and View the Invoice Group.
- Click Edit.

4. On the Items subtab, add the Discount Item created in the previous step.

5. Click Save.
Alternative Method: Apply Discount to a Specific Invoice Within a Group
- Navigate to Transactions > Sales > Group Invoices > List
- Select the Invoice Group and click View.
- Under the Details subtab, choose the specific Invoice, then click Edit.
- On the Items subtab, add the Discount Item.

5. Click Save.
Note:
This method allows a discount to be applied directly to an individual invoice without processing a payment.
After applying the discount, verify the Invoice Group record to confirm the discount application. This ensures that the appropriate discount amount is reflected in the financial records.
Make sure to follow the New to NetSuite > Order to Cash space for more beginner-friendly articles!
