
In many companies undergoing audits, administrators may be tasked with ensuring that reports meet audit and compliance standards, such as documenting when they were generated. Adding a timestamp and the account number where the report was generated to exported PDF reports is an effective way to achieve this. The timestamp indicates when the report was run, while the account number provides a direct reference to the source, making it easier to verify and trace during audits.
By default, when you click the PDF button on any report in NetSuite, these fields, the timestamp and URL, are not included:
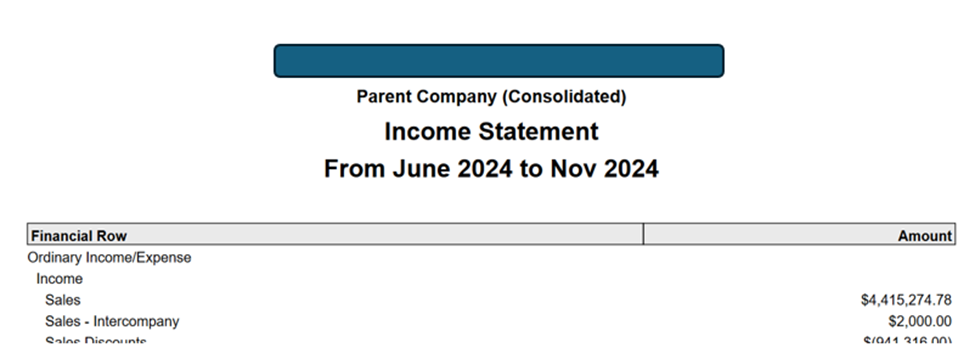
To add these fields:
1.) Go to any reports (For this scenario, let's use Income Statement report)
- NetSuite: Navigate to Reports > Financial > Income Statement.
- NetSuite Next: Click Explore (Ask Oracle icon in the bottom right corner), and in the menu go to Reports > Financial > Income Statement.
NetSuite

NetSuite Next


2.) Click the Print icon

3.) In the destination, select Save to PDF
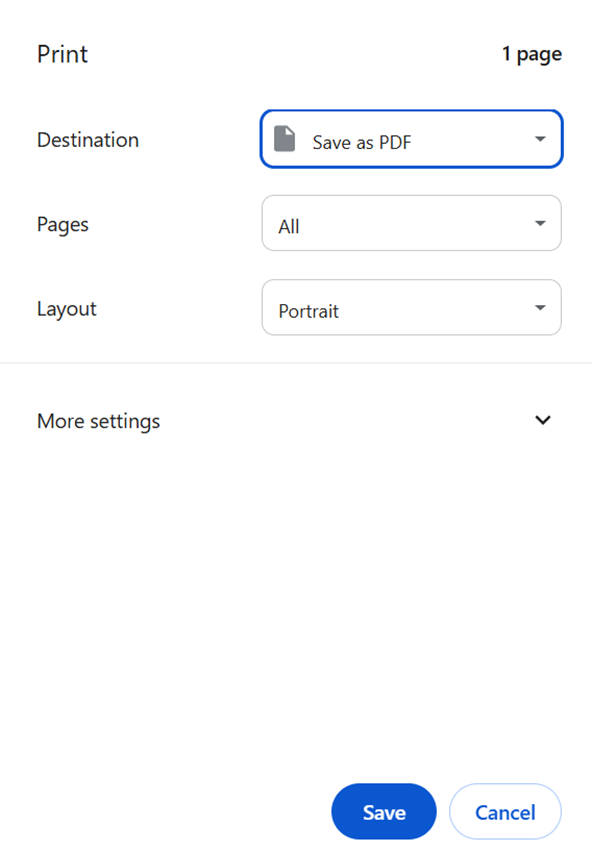
4.) Click Save
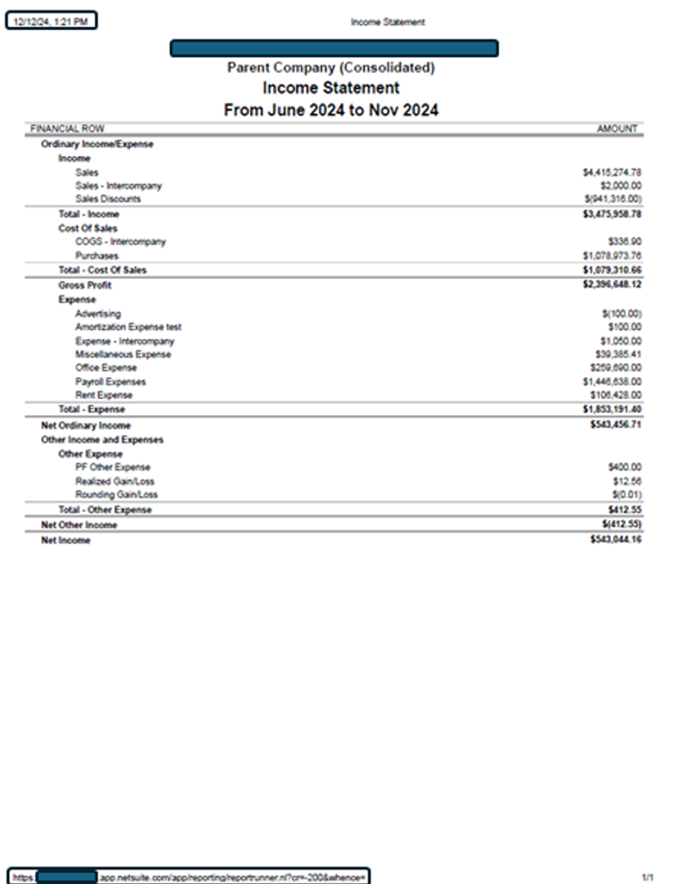
Report generated from Google Chrome
Result:
The saved pdf report will now have a timestamp, and it will also show the URL with the account number.
Have you tried this one? Feel free to share your tips here in the NetSuite Admin Corner!
