Make your invoicing process easier by automatically filling in details to match specific invoice forms effortlessly. In this article, we’ll introduce a simple solution to automate this task seamlessly.
When you select the corresponding invoice form, this workflow will automatically populate the fields in your Invoice Form (e.g. Department, Class, and many more). With just a few simple steps, you can save time and minimize errors when filling up your invoice form. Here's how:
- Navigate to Customization > Workflow > New.
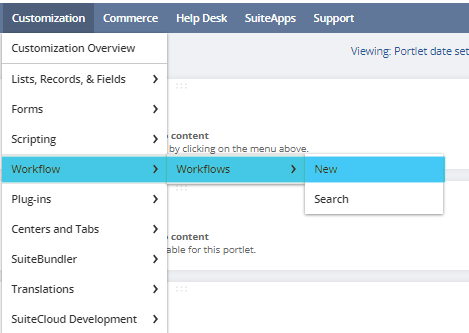
2. Provide a name for the workflow.
3. Choose the Record: Transaction option.
4. Specify the Sub-type as Invoice.

5. Set the Condition To: If Custom Form equals "Specific Form".


6. Click on Save to preserve your settings.
Next, let's configure the actions for the workflow:
- Select the State and click on the Pencil icon located on the right side of the screen.

2. Select New Action.

3. Click on Set Field Value.

4. Set the Trigger to: Before Record Load.

5. Choose the fields where you want to assign values (e.g., Department).
6. Click on Static.
7. Input the desired details in the Value field.

8. Finally, click on Save to apply the changes.
Hope this helps! 😊
Want to learn more about Customization? Visit New to NetSuite: SuiteBuilder & SuiteBundler
Do you have any feedback? Let us know in the comments!
