Best Of
Re: How can I setup a custcol to source Item Record info for SuiteCommerce/Webstore orders?
Hi @Dext3r
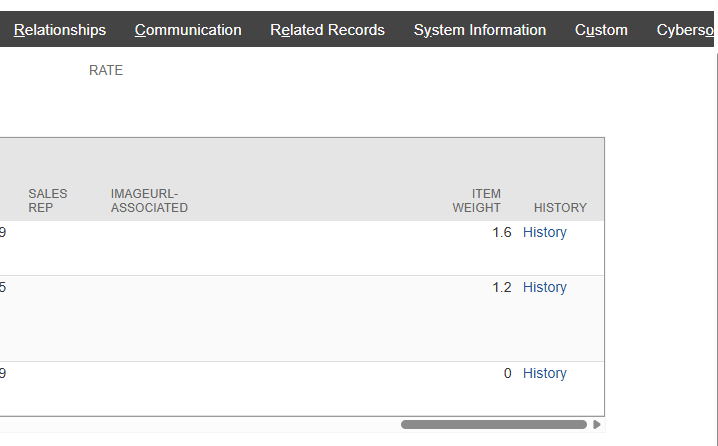
It's odd that it's being rounded down. Tried using values 1.2 and 1.6 as mentioned in your initial post but I can't seem to replicate it.
Here's the UE script I used:
define(['N/search'], (search) => {

  const beforeSubmit = ctx => {

    const rec = ctx.newRecord;
    const count = rec.getLineCount({sublistId:'item'});

    for(let i=0;i<count;i++){

        const itemId = rec.getSublistValue({
            sublistId:'item',
            fieldId:'item',
            line:i
        });

        if(!itemId) continue;

        const weight = search.lookupFields({
            type: search.Type.ITEM,
            id: itemId,
            columns:['weight']
        }).weight;

        rec.setSublistValue({
            sublistId:'item',
            fieldId:'custcol_ci_itemweight',
            line:i,
            value:Number(weight)||0
        });
     }
  };

return { beforeSubmit };

});

Re: How can I setup a custcol to source Item Record info for SuiteCommerce/Webstore orders?
Hi @Dext3r
Kindly try using this in your code in setting weight value Number(weight).
Edit your code and try this:
newRecord.setSublistValue({

     sublistId:'item',

     fieldId:'custcol_ci_itemweight',

     line:i,

     value:Number(weight)||0

});
Let me know how it goes.
Thanks!
Re: Default Order Quantity for Items
Thanks @Tapendra Singh — I had a suspicion there was no such functionality, and your post confirmed it.

Now Accepting Nominations: Community Choice Q2 2026

Our community thrives because of members like you; and the people who step up to help others succeed.
Have you interacted with someone this quarter who stood out for their support, expertise, leadership, or kindness? We want to hear about it!
Submit your nomination and include a brief note on how they’ve made an impact.
The selected community member will be recognized with points, an exclusive badge, and a spotlight feature in our upcoming newsletter.
Don’t miss your chance to celebrate someone who makes this community great—submit your nomination today!

Re: Workflow Action "Add Button" Not Displaying or Functioning on Transaction Record
Hi @User_PCF01 ,
Looking at your workflow diagram, the Returned to Submitter state currently only transitions downward into the END state.
The Add Button action only handles rendering the button on the screen. To make it execute an action and resubmit the record, you need to create a Transition that links back to your approval path.
Without this transition, clicking the button will refresh the page (and save the record, since you have Save record first checked), but the record will remain stuck in the Returned to Submitter state.


Re: Import Item receipt -partial receive
@Didik_Rohadi - Yes, items are setup to use "Bin" Thanks again for your help.
@Tapendra Singh -Thanks again for your help.
I was able to do import to receive a full PO, but I guess for partial receiving, will need to wait for the next NetSuite update. Hopefully soon :)

Re: Annual New Release Quiz, is there one for 2025?
Going forward I hope that the admins would post an announcement about when these are active here in this site. I did not get any email announcement about it being active as been the case for the last 10 years and almost missed it. TY all for your help!
 KNason76
Re: Script error in customdeploy_ps_ue_applytrans_wc
It's difficult to pinpoint the exact issue without looking at the logs, but in my experience, an unhandled error in a library file or a separate User Event script can cause the main script to throw an "unexpected error."
Have you tried removing the script and deployment ID filters, and just filtering by the date and log level?
Happy to jump on a quick call to help you investigate if you'd like!
Re: On-Demand Webinars You May Have Missed: AI, Finance, CRM, Security, and More
Thanks for sharing this @Robert Nedelkow-Oracle
Re: How can I setup a custcol to source Item Record info for SuiteCommerce/Webstore orders?
Yea, I've given it to support for now in the hopes they can identify what on my environment is rounding the weight.
I would presume the only options to check would be a script or workflow, but I'm not having any luck in identifying which, if any.
 Dext3r